The hair and beauty industry thrives on visual storytelling. Our services promote not only self-care but also self-expression. Whether through a striking hair transformation, fresh nails, or skincare that leaves them glowing—we help our clients declare to the world, “This is me.”
Yet, how do we tell the story of our own businesses? How do we introduce ourselves to the world and persuade total strangers to become our clients? The most direct course is through photography. High-quality photos are vital in crafting the ideal first impression. This is how you invite prospective clients to glimpse the experience that awaits them.
In this guide, we walk you through everything you need to know to create a bank of beautiful photography for your salon or spa from start to finish.
With each year that passes, smartphone cameras become more powerful, and the expectations for image quality continue to rise. Our digital world is saturated with polished visuals, and it’s easy for anything less to appear outdated or unprofessional in contrast. We know figuring out where to start and how to keep up can be daunting, but it’s worth it.
Investing in good photography can help you:
- Establish your credibility
- Enhance your marketing
- Improve your SEO ranking
- Boost social media engagement
- Make your social media ad campaigns more effective
- Convey the personality of your business
- Command higher service prices
- Stand out from the competition
Step 1: The Photography Brief
Whether you are handing over the reins to a photographer or going for it yourself, proper planning is essential. While there are some general principles for capturing a good photo, you’ll want to ensure that your photography reflects your brand and the unique qualities of your business.
- Outline some guiding adjectives. If your brand was a person, how would you describe their personality? Quirky? Cheerful? Sophisticated? Alternatively, try listing out how you would like your clients to feel when they come into your salon or spa. Inspired? Confident? Relaxed? You can already see how these descriptors would translate into very different photography styles.
- Create a mood board. Inspiration is all around you: magazines, your peers in the industry, social media. Collect examples of photos you like to clarify your taste (to yourself or your hired photographer!)
- List all the places you want to use your photos. You might not realize just how many applications there are for high-quality photography. Make sure you capture the right photos to cover all your bases.
- Website
- Google Business Profile
- Social media
- PR, Competition Entries, etc.

Step 2: Plan Your Photoshoots
A photoshoot is not a one-and-done move, of course. To keep your social media relevant, you’ll need to take plenty of photos regularly. However, having a collection of your best photos at your disposal is important for your website and advantageous for planning marketing campaigns and populating your content calendar. This way, you won’t have to produce brand-new photos whenever you require an image. Trust us, your future self will be grateful!
Assess your environment
Look at your salon with fresh eyes. What are the most photogenic areas? Where do you get the best natural light, and what time of day do you tend to get it?
During your photoshoot, Global Social Media Strategy Manager Eilish Boyle says to
“Hide clutter, rubbish, dirty towels, and wires! Even if you’re only moving it out of the way for the photo, your photos will look so much better for it. Your salon doesn’t need to look like it is styled for a magazine shoot, but avoid capturing anything that could distract from your fabulous space.”
Gather your equipment
First, your camera. Whose phone has the best camera? Start there. Otherwise, you can, of course, borrow, rent, or invest in a DSLR (experts often suggest “starter” cameras like Canon EOS Rebel, Nikon D5600, or the Sony A6000, all of which you can pick up secondhand). Just make sure you factor in some time to get acquainted with whatever camera you settle on.
Phorest’s social media expert, Eilish, recommends two more pieces of equipment, especially if you’re using a smartphone camera: a ring light or LED light panel to give you more control over your lighting conditions, and a simple lens cloth (the one for your glasses works!) to keep you operating smudge-free.
As groundbreaking photographer Tyler Mitchell says in his Masterclass,
“You don’t need expensive gear to make beautiful photography; whatever you can get your hands on, I would suggest try, even your phone. With what you have in your pocket, it is very possible to make something striking and to tell a story.”
Make a “shot list”
A shot list describes the various shots you intend to take. You don’t have to envision every image you want to capture ahead of time or be overly beholden to your list if some impromptu creativity takes over. Still, it’s helpful to have a reference. Plus, a list makes it easier to share the load across the team. Here are some classic shots to consider:
Team photos: to introduce the professionals behind your business
Whether you ask them to pose for headshots or photograph them in action, be sure to get an individual photo of each team member. Use these on social media and your website to accompany a bio and list any specialities. Pair these images with glowing online reviews when you need to hype up stylists or therapists whose appointment books need filling. While you are at it, try a few group shots to communicate the camaraderie to future candidates.
See how London’s Not Another Salon, Wildflower in Dublin, and Brush Salon in Vancouver got creative with it
Location photos: to show off your physical space
Think about when you book a restaurant or a hotel room. You want to see what the place looks like, right? Not only do you want to display a clean and welcoming environment, but you also want your prospective clients to be able to picture themselves spending time in your space.
Check out how Bliss Beauty and Body in Australia and Glasshouse Salon in London present their space and showcase their personality
Here’s another tip from Eilish:
“When photographing your salon, think outside the box and do not be afraid to take loads of photos at loads of different angles! A new perspective can change everything. See how your salon looks empty and when it’s full. Try taking some shots at eye level to mirror your customer’s view, or stand on a ladder in the corner of a room to photograph it from a totally different vantage point.”
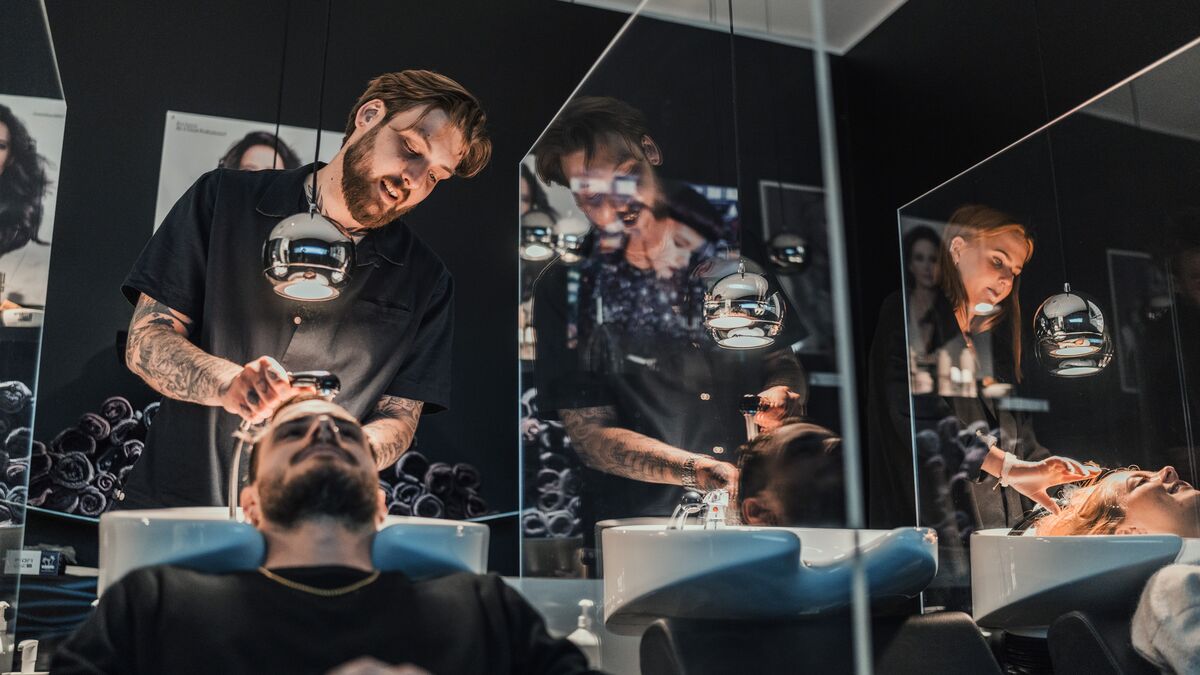
Action Shots: to convey the atmosphere and the experience
This is where you can really let your inner storyteller come out. Consider what special moments in the client journey you want to capture. The warm greeting at reception? Sipping a coffee in a plush waiting area? The pure zen of being shampooed or having a facial? The big post-treatment reveal? There is a practical component for some treatments with less self-explanatory names; a good photo can give clients a better idea of what to expect.
Take a peek at The Bearded Man Barbershop in Prahan and The Lash Spa in QLD, Australia, for some inspiration.
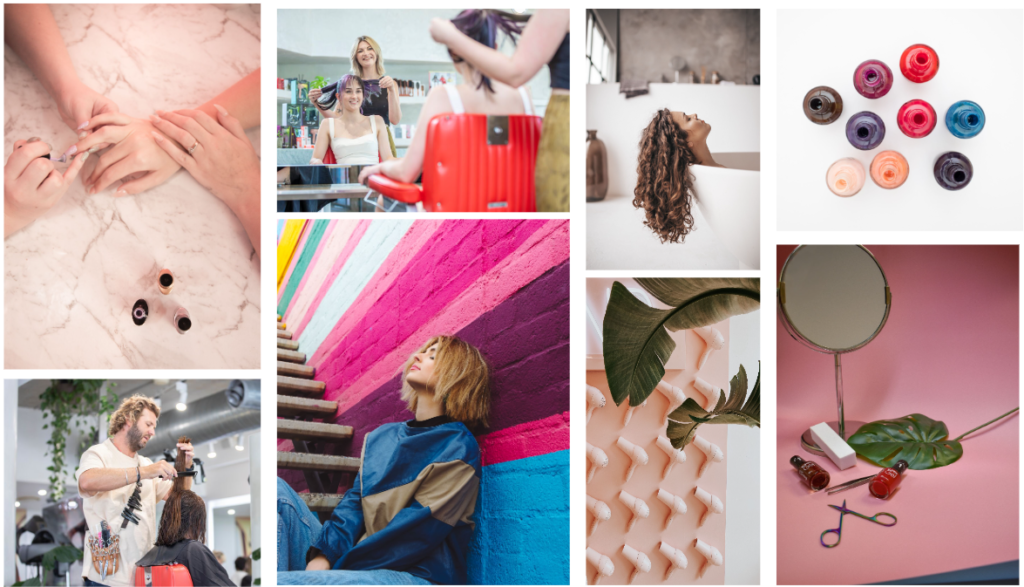
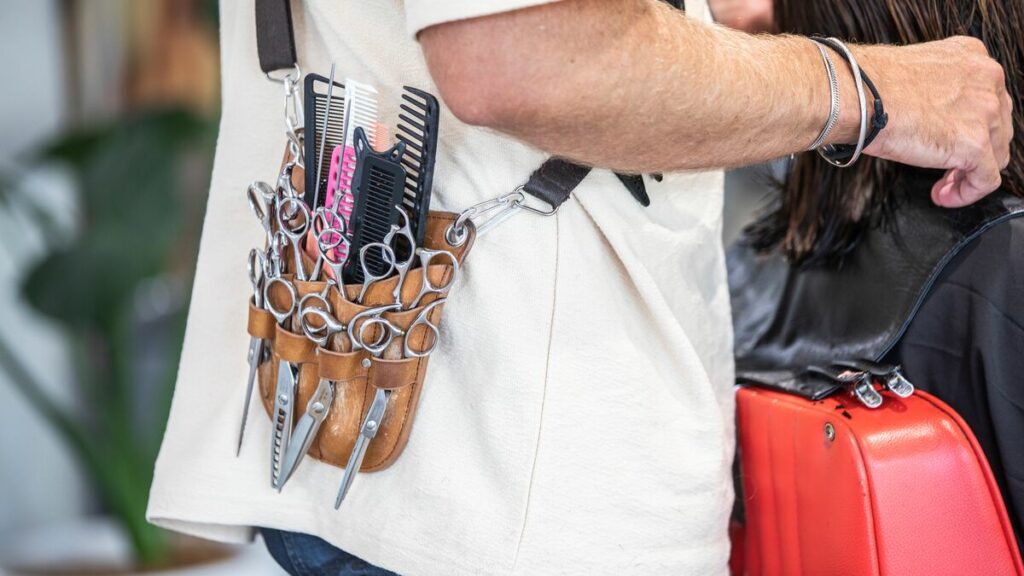
Detail Shots: to set the scene and add some artistic flare
In traditional photography practice, there is “A-roll” and “B-roll” (originating from “rolls” of film.) A-roll captures the main action of the story, whereas B-roll refers to everything else. This is a helpful framework for planning any photoshoot. Once you understand the core elements of your business you want to capture, don’t be afraid to think like a director and let the details shine. Incorporate some close-ups of your tools, the products you use, and some of your favourite features of your space.
Notice how Oslo Beauty in Dublin and Emerge Modern Salon in Colorado do this.
A note from Eilish on close-ups,
“Another big mistake I see people making is overusing the zoom option! Manually zooming on your smartphone is something I would advise you avoid, as it can damage the overall photo quality. Instead of zooming, get closer to your subject, or if that isn’t possible, remember you can always crop the photo to your liking later on.
4. Prepare the logistics
Once you have a vision, coordinate with your team and block off the appropriate time in your calendar. Especially if this is your first time, do yourself a favour and choose a slower day and budget more time than you think you’ll need. If you plan on featuring, give them some advance notice as a courtesy, and be sure to get their explicit permission to be photographed.
Step 3: Lightly Edit Your Photos
Regardless of the vast number of filters available today, unless your business has a particular aesthetic, less is more. Think of it like the “no-makeup makeup” look for photos. The main thing you want to do is fine-tune the lighting and crop to create an impactful composition. That being said, experiment with the editing tool in your smartphone until you land on something that looks both polished and natural.
If you plan on editing photos on your computer, Adobe Photoshop and Adobe Lightroom are the gold standard. However, Eilish recommends VSCO, Afterlight, Snapseed and Canva for intuitive editing directly from your smartphone.
Embrace the creative challenge
As Canadian photography director Petra Collins said in her Masterclass, “You have the power to create images that no one has ever seen before.” While everything we have outlined is important to consider, don’t let perfectionism get in the way of progress. After all, by making an intentional effort to improve your photography, you are already one step ahead of where you were yesterday. You’ve already done the hardest part: building a business you are proud of. Now, you just need to use your camera to show people the magic you see every day.
#TogetherWeGrow
What will you learn next?
This post was originally published on April 4th, 2015 and has been updated.